
WooCommerce
Zenkipay for WooCommerce allows merchants to accept payments on their store with different cryptocurrencies through multiple wallets.
It’s necessary that the server where your WooCommerce store is hosted has the following characteristics:
- PHP 7.4 or higher
- MySQL 5.7 or higher, MariaDB 10.3 or higher
- Apache or Nginx with mod_rewrite module enabled
- PHP cURL extension installed
- HTTPS support
- WordPress 5.9 or higher
- WooCommerce 6.0.0 or higher
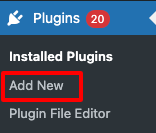
- In the WordPress backoffice, go to the Plugins> Add new section.
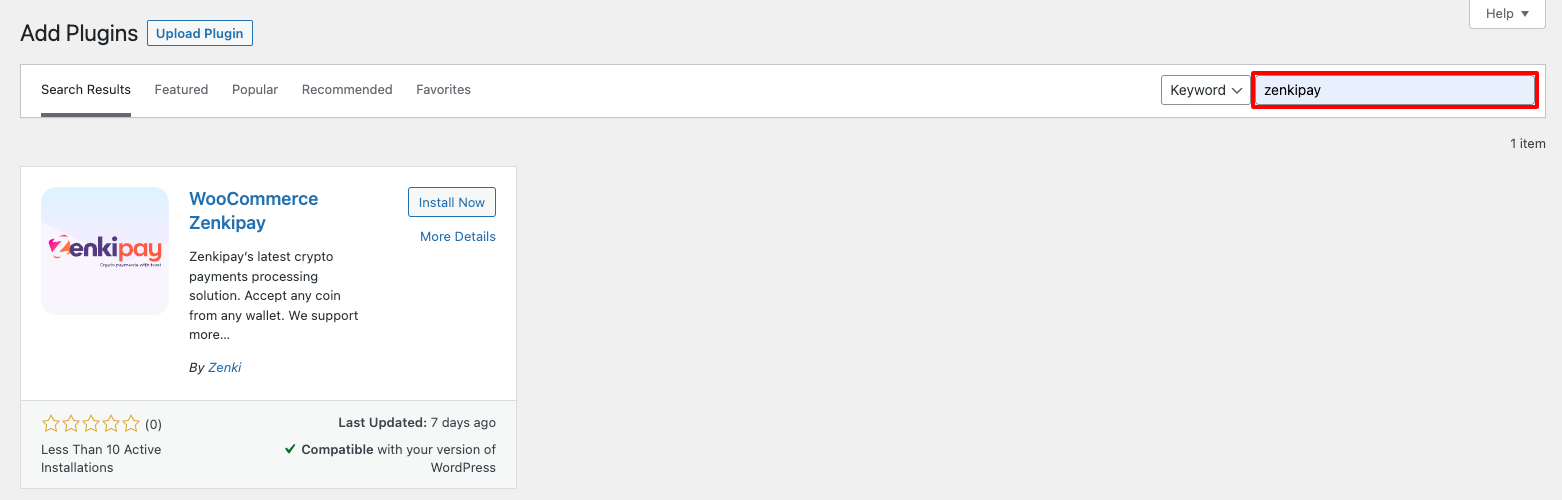
- Enter the word “zenkipay” in the plugins search box, the Zenkipay’s plugin will be displayed as a result.
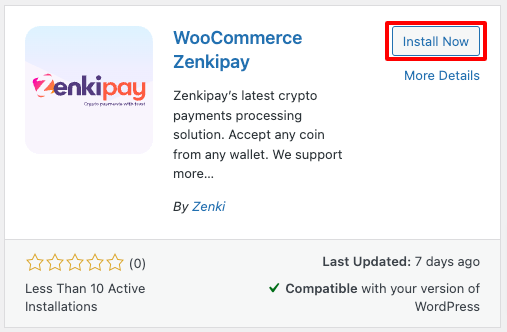
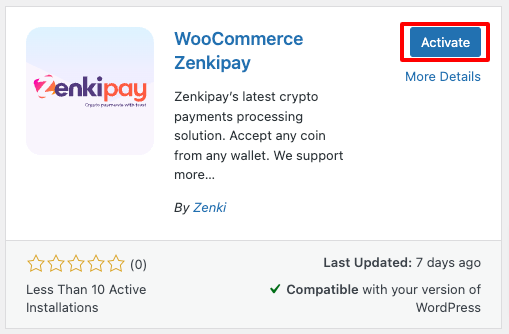
- Proceed to install and activate the plugin.
- In the WordPress backoffice, go to Plugins > Installed plugins, locate the Zenkipay plugin and click on “Settings”.

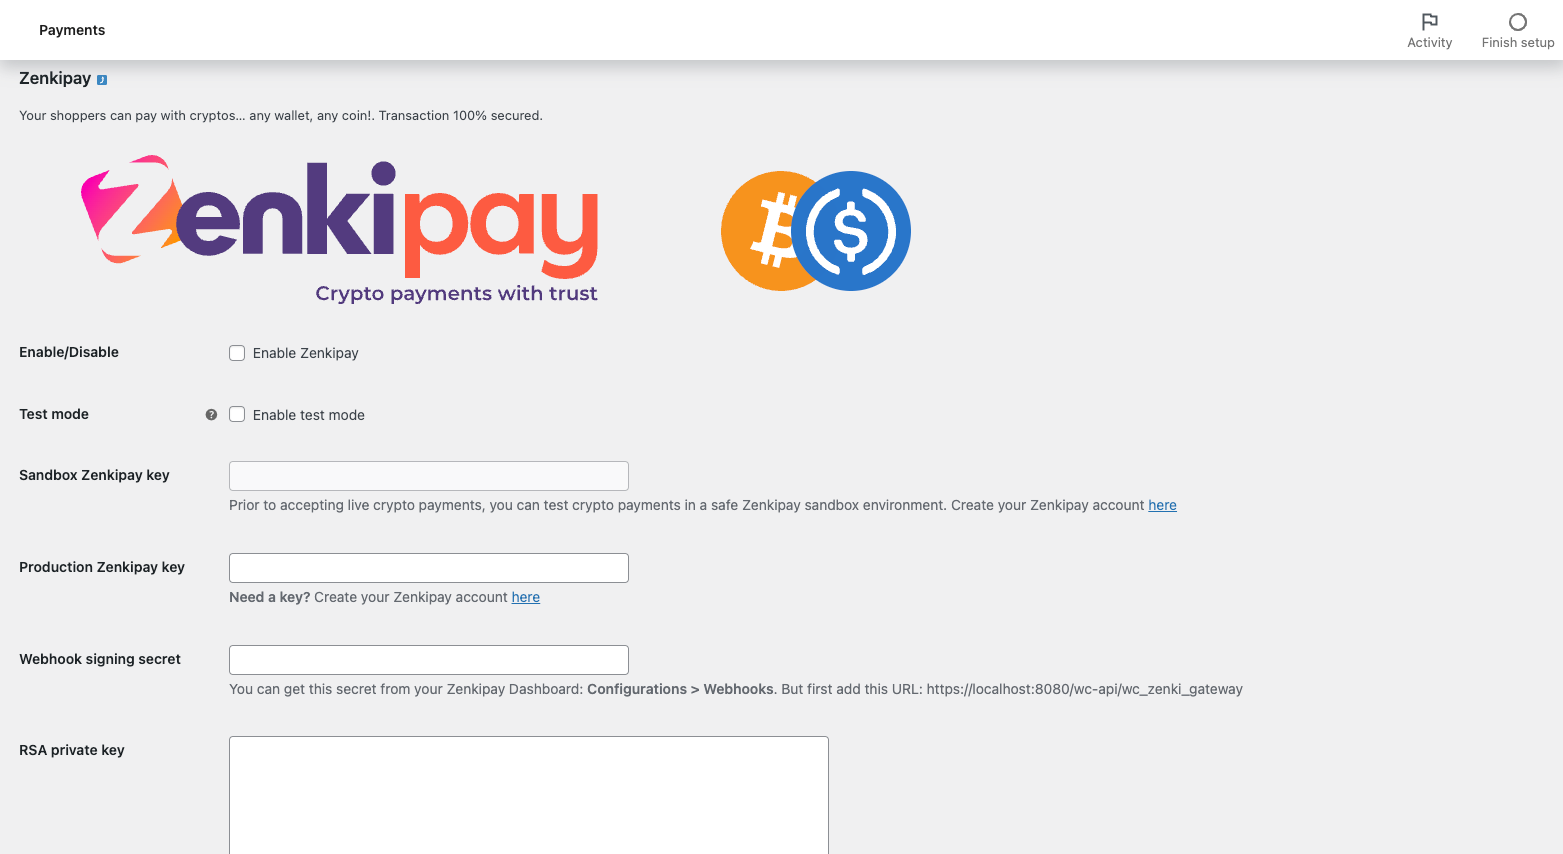
- To enable the plugin, the following fields must be captured for its correct operation:
- Enable/Disable: Enable Zenkipay as a WooCommerce payment method
- Test mode: It’s used to indicate if you are working with tests, which will allow you to make purchases/transactions through the Testnet.
- Sandbox Zenkipay key: It’s is necessary to perform test transactions. You can find the steps to get this key at the following link: Requirements for plugin integration.
- Production Zenkipay key: This key is used to start live transactions. During the testing process it’s not necessary.
- Webhook signing secret: It’s necessary to confirm payments in the store. You can find the steps to get this signing secret at the following link: Requirements for plugin integration.
- RSA private key: It’s necessary to sign the payment requests, verify that the request comes from your store and make sure that no one has manipulated the purchase data. You can find the steps to get this private key at the following link: Preparations for your integration.
NOTE: If the Zenkipay key (sandbox o production) is incorrect, an error message will be displayed.
The plugin’s webhook will allow Zenkipay to confirm to the store that the payment was completed once the payment has been made by the customer and will change the status of the order, which is initially “Pending payment” to “Processing”.
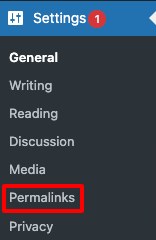
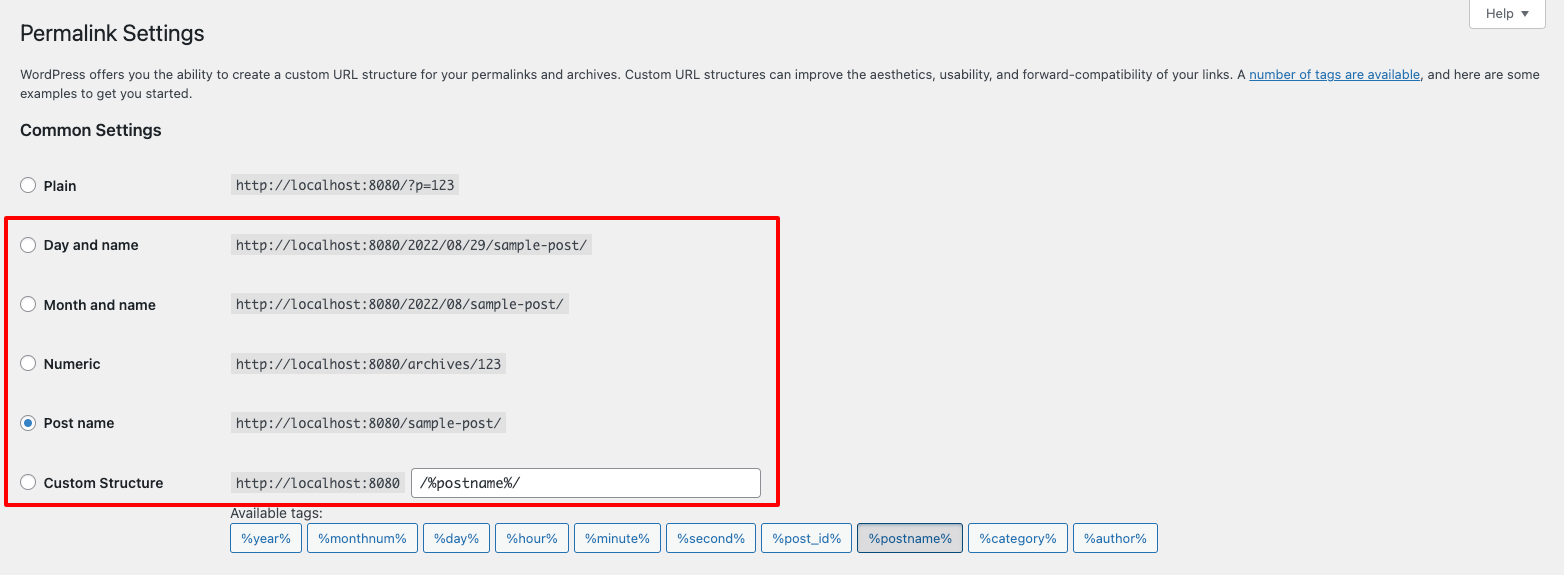
For the proper functioning of the plugin, it’s necessary to have configured the “Permalinks” of WordPress with any option except the “Plain” one. To do that you must go to Settings > Permalinks and make the necessary changes.
Webhook URL will be configured during the Zenkipay merchant account registration process, the URL format is as follows: https://my-store.com/wc-api/wc_zenki_gateway.